Learn the straightforward steps to connect solar panels to your electrical system, empowering you with the autonomy to harness clean, renewable energy.
Key takeaways:
- Assess site and solar potential: Analyze sunlight exposure, tilt, and shading.
- Obtain necessary permits and documentation: Ensure compliance with local codes and regulations.
- Choose appropriate solar panels and inverter: Consider efficiency, durability, and compatibility.
- Connect solar panels to inverter and integrate with home energy system: Match voltage and current specifications, use proper cabling, and ensure grid-tie connection.
- Perform final inspection and testing: Ensure safety, proper installation, and efficient operation.
Assess Site and Solar Potential
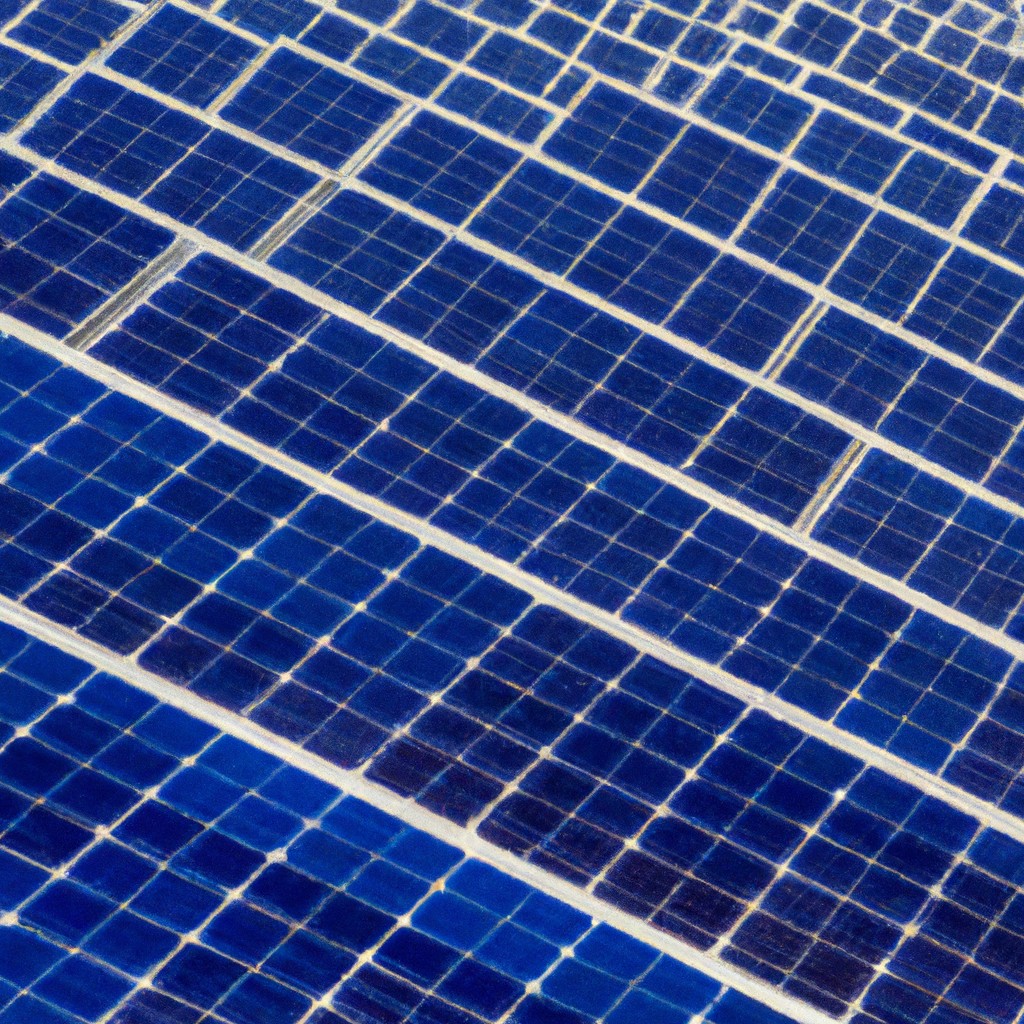
Evaluating the solar capability of your site is the first critical step in the solar panel installation process. Optimal sunlight exposure is essential for maximizing energy production, and this can be influenced by factors such as location, tilt, orientation, and potential shading from nearby objects.
To begin, analyze the direction your roof faces; south-facing is ideal in the Northern Hemisphere as it receives the most sunlight throughout the day. However, east- or west-facing panels can still be worthwhile.
The angle of the panels is also crucial. A tilt equal to the latitude of your location is generally a good starting point, although specific adjustments might be made for seasonal changes or to optimize for morning or afternoon sun.
Shade is the enemy of solar efficiency. Even small shadows cast by chimneys, trees, or other structures can significantly reduce the power output. Conduct a sun path analysis throughout the day to ensure minimal shading.
Finally, assess your roof’s condition and space. It should be durable enough to support the panels’ weight and have enough room for the number of panels you plan to install. Consider future expansions as well, leaving space for additional panels if you decide to scale up your system.
Obtain Necessary Permits and Documentation
Before beginning the installation of solar panels, it’s crucial to ensure that all local codes, permits, and regulations are adhered to. Residential solar systems typically require building permits that address the electrical and structural aspects of the installation.
Check with your local municipality for specific requirements. This might involve filling out application forms, preparing electrical and installation plans, and paying associated fees. It’s essential to understand homeowner’s association (HOA) bylaws as well, as there may be restrictions or aesthetic guidelines for solar installations in your community.
In some regions, additional documentation may be required to participate in financial incentive programs, such as rebates or tax credits. Gather information from local government websites or contact your utility company for guidance on these processes. They can provide insight into any regional-specific procedures that need to be followed.
Moreover, grid-tied systems usually necessitate approval from the utility company to ensure the system’s compatibility with the grid and to set up a net metering agreement. This allows for the flow of excess power from your panels back to the grid, crediting your electric bill.
Having the right permits in place is critical to avoid legal issues, optimize system benefits, and secure any available incentives. Therefore, it’s advisable to address these administrative tasks early in the planning process.
Choose Appropriate Solar Panels and Inverter
Selecting the right solar panels involves considering efficiency, durability, and warranty. Efficiency measures how much sunlight a panel converts to electricity; higher efficiency entails more power from less space. Durability ensures panels withstand environmental elements, so look for robust construction and certifications for wind and snow loads. A substantial warranty usually indicates better quality and offers reassurance for your investment.
The inverter’s job is to convert direct current (DC) generated by the panels into alternating current (AC) used by home appliances. There are two main types: string inverters and microinverters. String inverters are cost-effective and ideal for systems without shading issues, while microinverters offer individual optimization for each panel, perfect for roofs with partial shade or multi-directional setups. Your choice here impacts system efficiency and needs to align with your specific conditions.
Matching panel capacity with inverter size is crucial; an inverter’s input rating should never be lower than the total wattage of the solar panels. Oversizing the inverter slightly can ensure it captures all the power your panels produce, even on the sunniest days. Compatibility between these components is key to maximizing the energy produced and ensuring that the system operates smoothly for years to come.
Connect Solar Panels to Inverter and Integrate With Home Energy System
Connecting the solar panels to the inverter is a critical step in harnessing solar power. Solar panels produce direct current (DC), while most home appliances use alternating current (AC). The inverter, therefore, serves as the bridge, converting DC into usable AC. It’s crucial to match the voltage and current specifications of your solar array with the inverter’s capacity to ensure energy efficiency.
Cabling is the means by which the solar panels connect to the inverter. You should use weather-resistant wires — typically copper — with insulation that can withstand environmental stresses. The positive and negative wires from the panel arrays come together in a combiner box, a centralized point before they connect to the inverter.
Once the inverter is hooked up, it integrates with your home energy system, either through a direct connection to the electrical panel or via a battery storage system. The latter allows energy to be stored for use when the sun isn’t shining. Safety is paramount; hence, the electrical panel should have a dedicated breaker for the solar system. This not only protects your home but also makes it easier for utility workers to isolate the solar setup when necessary.
An important consideration is to ensure that the energy system has an efficient grid-tie connection if you plan to sell excess power back to the grid. This entails installing a net meter which records the energy exported to and imported from the grid.
Through each of these steps, adherence to local electrical codes and safety standards is non-negotiable to ensure reliable and safe operation of your solar power system.
Perform Final Inspection and Testing
Before activating your solar array, a thorough inspection ensures safety and compliance with electrical codes. A licensed electrician or a solar installer typically conducts this examination. They verify that all electrical connections are secure and properly insulated to prevent potential hazards such as short circuits or electrical fires.
Additionally, they will inspect the mounting racks and ensure the panels are securely attached, preventing any wind or weather-related damages. The inverter, which converts direct current (DC) from the panels to alternating current (AC) used in your home, is also checked for proper installation and operation.
Testing includes turning on the system and monitoring it to confirm that it functions correctly and efficiently. This process involves checking that the inverter syncs with the grid and the solar panels are producing the expected amount of electricity under normal operating conditions.
Keep in mind, the final step often requires notifying your utility company to grant permission to operate. The company may need to install a net meter, which records the energy your system contributes to the grid, allowing for utility bill credits. It’s essential to have all paper trails, warranties, and manuals organized for future reference.


