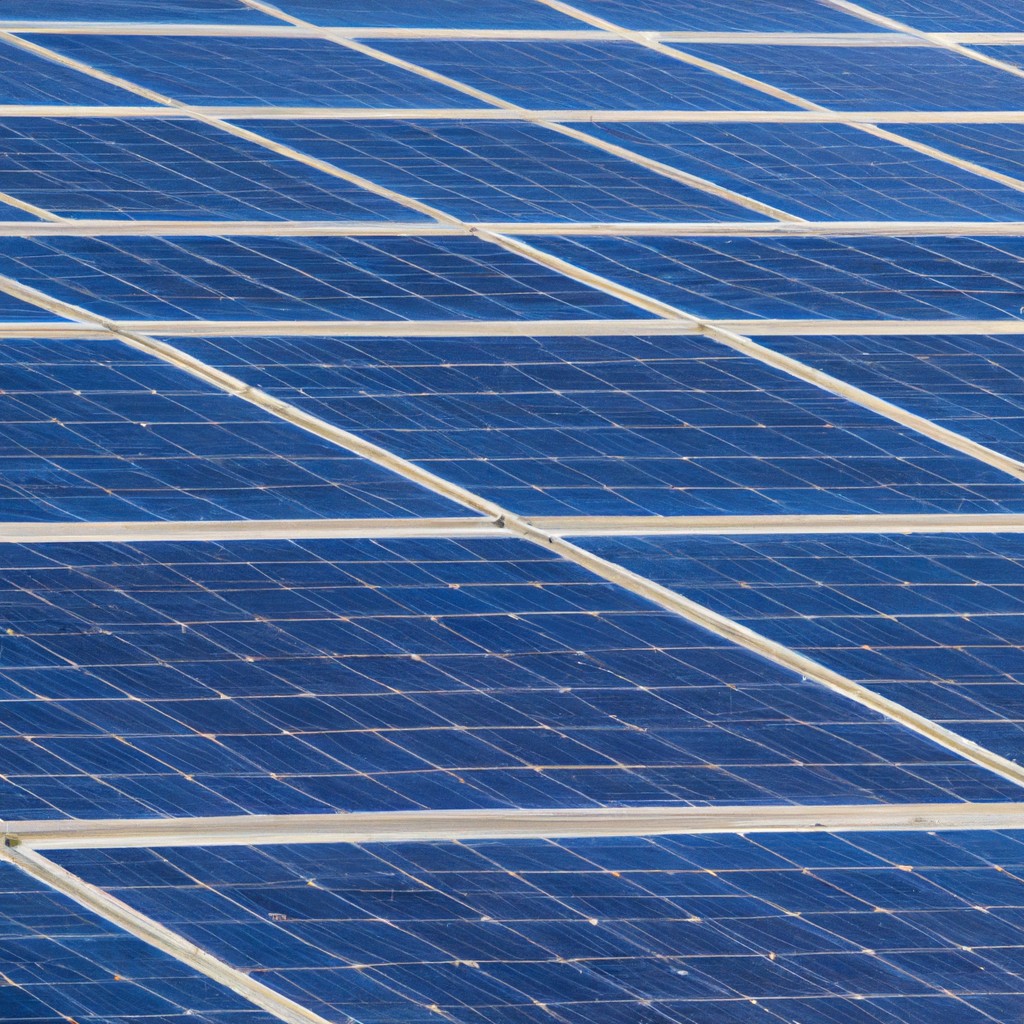
This how-to guide outlines the key steps for installing solar panels, ensuring you can harness solar energy effectively for your home or business.
Key takeaways:
- Use proper safety equipment and precautions during installation
- Assess the condition and strength of your roof before mounting panels
- Calculate your power needs and system size based on energy consumption
- Obtain necessary permits and explore incentives and tax credits
- Install mounting hardware, panels, and wiring following manufacturer’s instructions
Safety Considerations

Prior to beginning installation, it’s crucial to understand the risks involved with working at heights and handling electrical components. Personal protective equipment such as gloves, safety glasses, and a harness tethered to a secure anchor point is essential.
Turn off power to your home to mitigate electrical risk. It’s also advisable to have a professional conduct a roof inspection to ensure it can support the weight of the panels. Lastly, consider enlisting a friend or professional to assist you, as teamwork can significantly boost safety and efficiency.
Assessing Roof Condition and Strength
Before mounting solar panels, it’s imperative to evaluate the roof’s integrity. The lifespan of solar installations can exceed 25 years, so the roof must be in good condition to avoid mid-term replacement disruptions.
An inspection should focus on:
- Age of the Roof: Aim for a roof with a remaining lifespan that matches or surpasses the expected duration of the solar installation.
- Material Durability: Certain materials, such as slate or cedar tiles, may require additional support structures or special mounting equipment.
- Structural Support: Verify that rafters and trusses can handle the added weight, especially in regions with heavy snowfall.
- Surface Area and Shade: There should be enough unobstructed space to accommodate the number of panels needed to meet energy requirements.
- Orientation and Angle: South-facing roofs with a slope between 15 and 40 degrees are typically ideal for maximum solar exposure.
Addressing any roofing issues before installation can help secure the safety and efficiency of the solar system in the long term.
Determining Your Power Needs and System Sizing
To ensure your solar array aligns with your energy consumption, begin by examining past electricity bills to calculate your average daily power usage. This figure, typically measured in kilowatt-hours (kWh), is pivotal in determining the capacity your solar installation must have to significantly offset monthly energy costs.
Next, consider seasonal energy use fluctuations. Keep in mind that higher energy demands in summer due to air conditioning or in winter due to heating may necessitate additional panel capacity.
It’s also important to factor in the peak sunlight hours for your specific location as this affects how much energy your panels can generate. A region with extensive daylight hours will require fewer panels for the same energy output compared to an area with less sun.
Lastly, account for future changes such as planned home additions or electric vehicles. Anticipating these will help in selecting a system size that won’t need costly upgrades shortly after installation.
Obtaining Necessary Permits and Understanding Incentives
Before beginning installation, it’s crucial to secure the proper permits. These typically come from your local building department and ensure that your solar system meets fire safety, zoning, and electrical codes. Permit requirements can vary widely based on location, so contact your municipal office for specifics.
In addition to permits, it’s beneficial to explore financial incentives that can help offset your solar investment. These may include federal tax credits, state rebates, and Solar Renewable Energy Certificates (SRECs). The federal solar tax credit, for instance, allows you to deduct a percentage of the cost of installing a solar energy system from your federal taxes.
Many utilities also offer net metering programs, where you can earn credits on your electric bill for surplus power your panels produce and feed back into the grid. Investigate all available incentives by checking resources such as the Database of State Incentives for Renewables & Efficiency (DSIRE).
Installing Mounting Hardware, Solar Panels, and Necessary Wiring
Prior to installation, ensure that you have all the correct tools and components at hand, including the mounting hardware, solar panels, electrical wiring, and conduit. Start by securing the mounting brackets to the roof, following the manufacturer’s instructions precisely. These brackets should align with the roof rafters for a strong support structure.
Next, attach the metal racking to the mounting brackets. It’s essential to establish a level racking system to provide a stable base for the solar panels. Once the racking is in place, you can proceed to install the solar panels. Carefully lift each panel onto the racking and secure it using the provided clamps or bolts.
After mounting the panels, the electrical wiring can be installed. This involves connecting each panel to an inverter, which transforms the direct current (DC) produced by the panels into alternating current (AC) used in your home. Ensure that the wiring from the solar panels is appropriately routed and secured, keeping in mind that wiring should avoid areas where there is potential for damage or wear.
Using weatherproof conduit to protect the exposed wiring elements from the environment is crucial. This prevents electrical hazards and extends the life of your installation. Finally, ground the system according to the local electrical codes to ensure it operates safely.


