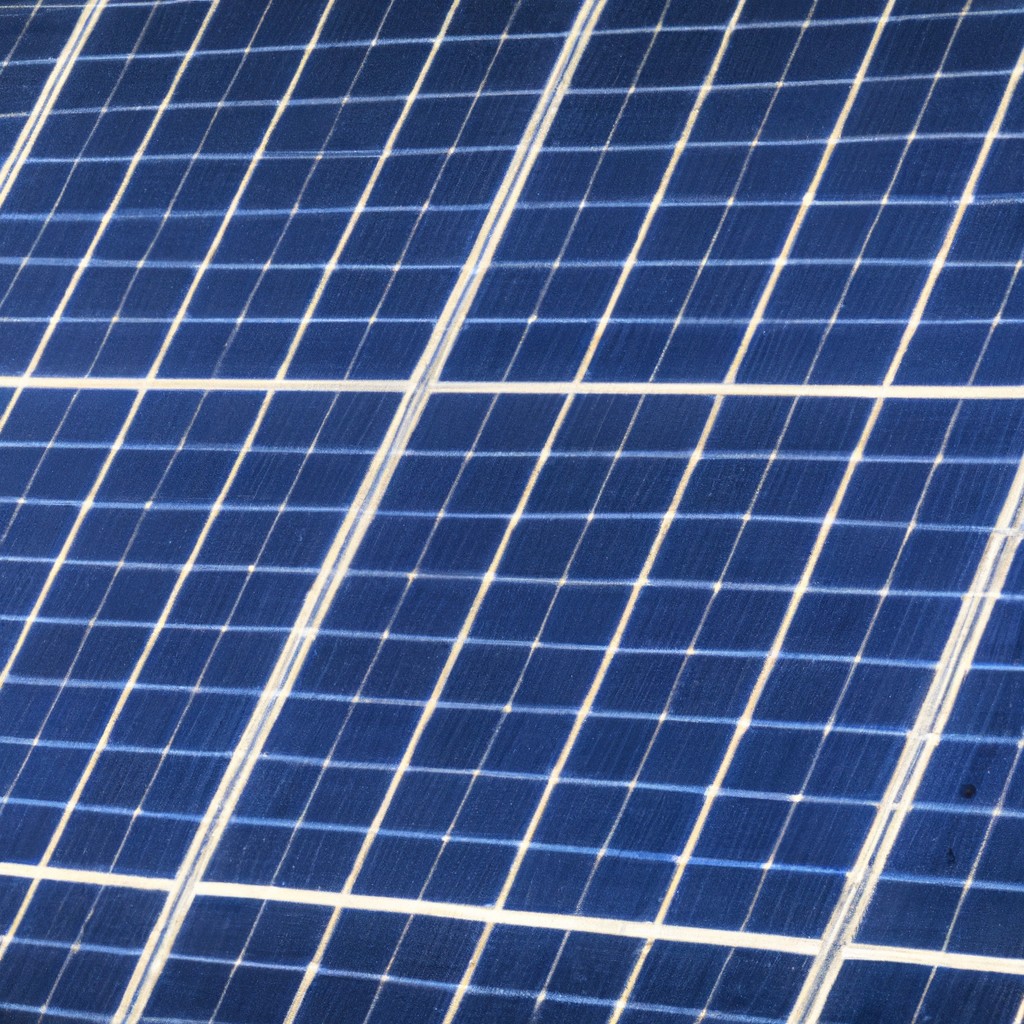
Installing solar panels on your RV can significantly enhance your travel experience by providing a sustainable source of power wherever you go.
Key takeaways:
- Assess your energy needs and calculate daily consumption.
- Choose high-efficiency, compact solar panels and suitable mounting equipment.
- Install panels securely on a clean, dry roof with proper brackets and sealant.
- Set up correct wiring connections and size your inverter appropriately.
- Regularly perform system checks and maintenance for optimal performance.
Assess Your Energy Needs

Before diving into the world of solar, calculate how much power you’ll use daily. This is crucial as it influences the size and number of panels you’ll need. Start by listing your appliances and gadgets, from lights and laptops to refrigerators and fans. Check their power specifications, typically found on labels or user manuals, to determine their wattage.
Add up the wattage of all gadgets to get a rough daily consumption. Remember, some devices run continuously while others are used intermittently, so adjust your total accordingly. Also, consider your travel habits; stationary RVs might use less energy compared to those frequently on the move.
Keep in mind that weather conditions affect solar performance. Plan for more capacity than your estimate to avoid shortfalls on cloudy days. This forward-thinking approach ensures your RV setup meets your energy needs reliably, without the stress of running out of power when you least expect it.
Choose the Right Solar Panels and Mounting Equipment
When selecting solar panels for your RV, consider both efficiency and size. High-efficiency panels, though more costly, will generate more power, while compact panels are essential for the limited space on an RV roof. Polycrystalline panels are a budget-friendly option, but monocrystalline panels are more efficient in converting sunlight to energy.
The right mounting equipment ensures the panels stay secure, even while traveling. Fixed mounts are economical and straightforward, perfect if you’re primarily in sunny areas. On the other hand, tilt mounts provide the flexibility to adjust the angle of the panels, maximizing exposure to the sun and boosting energy production, especially in winter months or less sunny climates.
Next, confirm compatibility. Your mounting system needs to match the panel type; universal mounts promise ease but verify their fit to avoid panel performance inefficiencies or damages. Always cross-check the weight tolerance and wind resistance of the mounting equipment to ensure safety and durability during travel. These considerations safeguard your investment and optimize your RV solar setup for efficient off-grid living.
Install and Secure Solar Panels
Before bolting down your panels, ensure your RV roof is clean and dry. Position the panels where they will get maximum exposure to sunlight, typically the center of the roof away from any shadows cast by other structures.
Use mounting brackets specifically designed for RV use; these help elevate the panels slightly off the roof to allow for cooling air flow underneath. Secure each panel to the brackets following the manufacturer’s guidelines, often involving bolting or screwing them into place.
Apply a sealant around the base of the mounts to prevent water from entering the roof. This step is crucial to avoid leaks during rainy weather.
Finally, check that all panels are securely attached and that there’s no movement when you gently push on them. This stability is key to prevent damage while the RV is in motion.
Set Up Electrical Connections and Inverter
Wiring your solar panels correctly and choosing the right inverter can feel like solving a puzzle, but it’s all about making the right connections. First, ensure you have quality wires and connectors that are suitable for outdoor use and can handle the rated power output of your solar panels.
Your inverter plays the central role here: it converts the DC electricity generated by the solar panels into AC electricity that your RV can use. Sizing your inverter correctly is crucial; it should match the total wattage of your solar panels. Look at how much power you typically use and select an inverter that can handle that load, with a little extra to spare.
Connection steps typically involve linking your solar panels to the charge controller and then to the inverter. From the inverter, you connect to your RV’s electrical system. Keep each connection secure and waterproof, using proper cable routing channels to prevent damage.
Safety checks are a must. After all connections are made, test each component using a multimeter to verify that all electrical outputs are stable and within safe limits. This step ensures your system is not only operational but also safe to use.
Perform System Checks and Maintenance
Regular system checks keep your solar setup efficient and prevent unexpected breakdowns. Start by visually inspecting the panels every few months to remove any debris or dirt that could block sunlight. It’s essential to ensure connections remain tight and corrosion-free, especially in an RV that’s constantly on the move.
Test the system’s energy output with a multimeter to verify that panels perform optimally. Look for any sudden drops in power, which might indicate a damaged panel or faulty wiring. Lastly, consult your panel manufacturer’s guidelines for specific maintenance tasks and schedule professional inspections annually for a thorough health check of your solar system. This proactive approach not only optimizes performance but also extends the lifespan of your solar investment.