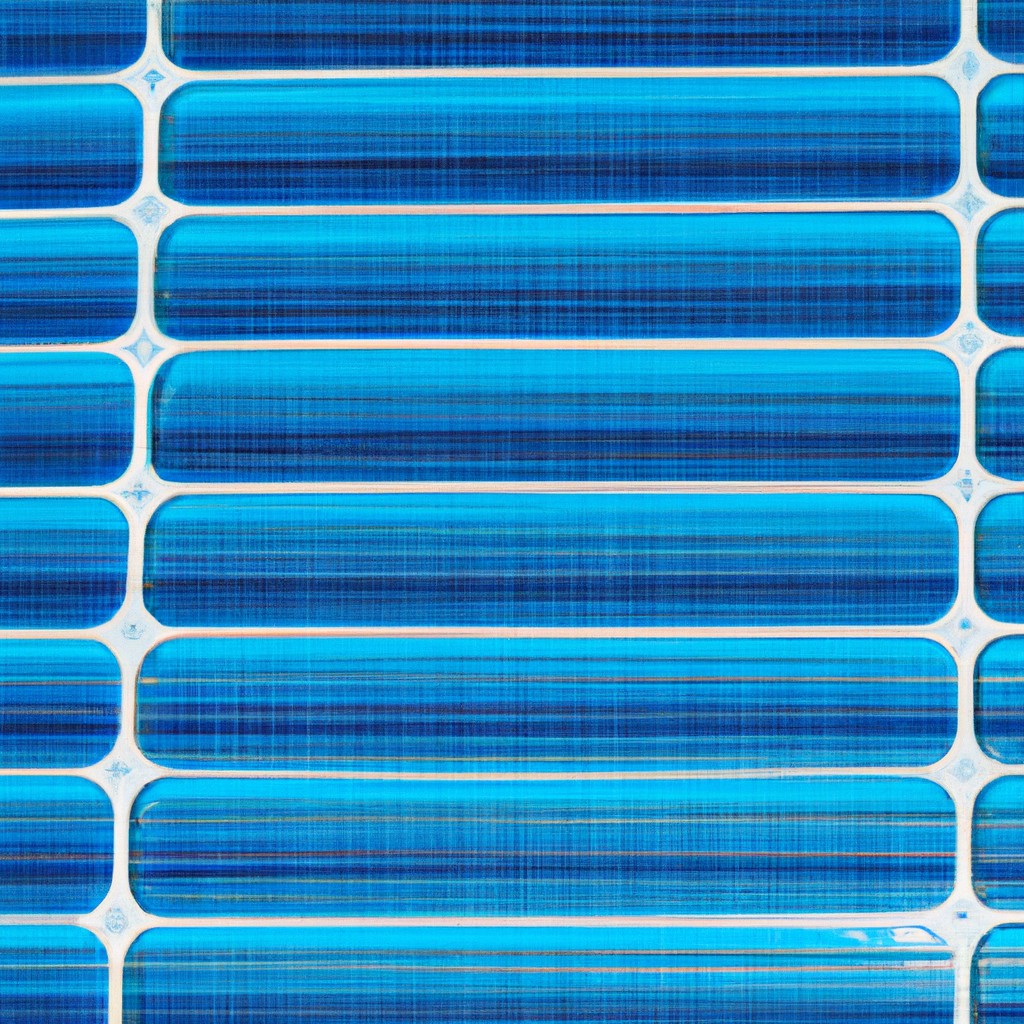
When installing a pool solar cover, ensuring the correct side faces up is key to maximizing heat retention and water evaporation control.
Key takeaways:
- Bubbles should face down for maximum heat retention.
- Proper installation includes trimming excess material and spreading cover evenly.
- Correct orientation prevents heat loss, reduces evaporation, and keeps out debris.
- Follow step-by-step guide for proper placement and securing of the cover.
- Regular maintenance includes gentle cleaning, checking for damages, and proper storage.
Which Way Do the Bubbles Face?

When placing a solar pool cover on the water’s surface, ensure that the bubble side faces down. These bubbles play a crucial role in insulation, trapping heat and transferring it into the water. This position optimizes heat retention and distribution through the following mechanisms:
- The smooth side facing up maximizes exposure to sunlight, allowing for efficient solar heat absorption.
- Downward-facing bubbles create an insulating layer that reduces evaporation and heat loss to the cooler air above.
- The design of the bubbles forms a snug fit against the water, minimizing the amount of heat that escapes.
Incorrectly placing the cover with bubbles facing up can significantly diminish its heat-retention capabilities and durability, as the bubbles are not designed to withstand direct exposure to the elements.
Proper Installation of a Pool Solar Cover
When installing a pool solar cover, the bubbles should face down, touching the water. This design allows the sun’s rays to heat the air within the bubbles, thereby transferring the warmth directly to the water. This setup also ensures that the cover stays in place, as the surface tension between the bubbles and the water provides a gripping effect.
To maximize the benefits, the solar cover should fit the pool’s shape and size. Trimming excess material may be necessary for a custom fit, which can be done using scissors. A well-fitted cover prevents heat loss, evaporation, and debris entry more effectively.
Always spread the cover evenly over the pool surface, minimizing wrinkles and air pockets. A smooth, flat placement ensures optimal solar gain and insulation. When the cover is not in use, store it away from direct sunlight to prevent UV damage and extend its lifespan.
Regularly inspect your solar cover for rips or degradation. Prompt repairs or replacements maintain efficiency and prevent the broken pieces from cluttering your pool or filtration system.
Benefits of Correct Solar Cover Orientation
Positioning your pool solar cover with the bubble side facing down towards the water is essential for several reasons. This correct orientation ensures optimal heat transfer from the cover to the pool. The bubbles act as insulators, trapping heat and conveying it effectively into the water, which can raise the temperature by several degrees.
Additionally, the proper placement of the cover minimizes water evaporation. This not only conserves water but also reduces the need for chemical balance adjustments, as fewer chemicals are lost to the environment.
Moreover, the reduced evaporation also preserves energy by maintaining the water’s warmth, leading to lower heating costs. This energy efficiency can contribute significantly to a smaller carbon footprint and sustainable pool maintenance practices.
Lastly, covering your pool correctly also keeps out debris. It prevents dirt, leaves, and insects from entering the water, thus reducing the time and effort needed for pool cleaning and maintenance. Correct cover orientation is a simple yet effective step to ensure a cleaner pool and a more enjoyable swimming experience.
Step-by-Step Guide for Placing Your Solar Cover
To ensure your pool solar cover is placed correctly, follow these simple steps:
- Unfold the Cover: Gently spread the solar cover across the pool surface. It’s easier to manage if you unfold it on the deck first and then slide it over the water.
- Align the Cover: Adjust the solar cover so that it fully extends across the pool, covering all areas. Edges should be flush with the pool sides.
- Bubble Side Down: Confirm that the bubble-wrap-like side is facing downwards, touching the water. This design traps heat more efficiently and ensures better insulation.
- Trim if Necessary: If the solar cover extends beyond the pool edges, you may need to trim it. Use scissors to cut the material ensuring it matches the shape and size of the pool.
- Secure the Cover: Once in position, if your pool and cover design allows, secure it to prevent wind from lifting it off. Some solar covers can be fastened with clips or weights.
Remember that care should be taken to avoid sharp objects that could puncture the cover during these steps. Regular placement and removal of the cover can also provide an opportunity to skim debris off the water’s surface, contributing to pool cleanliness.
Ensuring Longevity and Effectiveness Through Proper Maintenance
Regular maintenance is key to maximizing the lifespan and performance of your pool solar cover. Here are a few pointers to ensure it remains in top condition:
- Clean the cover gently with a soft brush and fresh water to remove dirt, leaves, and debris that can create abrasions and wear it out prematurely.
- Avoid using harsh chemicals for cleaning, as these can degrade the plastic and reduce the cover’s effectiveness.
- When not in use, store the cover out of direct sunlight to prevent UV damage. A shaded area or a protective cover will greatly extend its usability.
- Check for rips or tears periodically. Small damages can be repaired with a solar cover patch kit, preventing further deterioration and maintaining the cover’s efficiency.
- Handle with care when placing or removing the cover. Dragging it across rough surfaces can cause damage, so lift and carry to the storage area whenever possible.
By following these straightforward maintenance steps, your pool’s solar cover will operate more effectively, ensuring better heat retention and reduced evaporation over a longer period.


