This how-to guide will provide troubleshooting steps to diagnose and fix issues when your solar lights are not working.
Key takeaways:
- Check that they’re turned on
- Ensure the solar panel is clean
- Make sure the solar panel is positioned correctly
- Check for water damage inside the solar lamp
- Review the manufacturer’s instructions for troubleshooting
Check That They’re Turned On

Initially, it may seem obvious, but sometimes the simplest solution is the culprit. Solar lights come with on/off switches, and it’s worth checking if the switch is in the correct position. A quick glance at the switch can save time and effort if the lights were accidentally turned off or bumped into the off position during cleaning or maintenance.
Occasionally, switches might be obscured by the housing of the solar light or placed in a counterintuitive spot. Ensure you locate the switch and verify its position. If the lights were off, turning them on should initiate the charging process during daylight and restore functionality by nightfall, given that other components such as the battery and solar panel are in working order. Remember, even the newest solar lights need to be switched on to commence operation.
Ensure the Solar Panel Is Clean
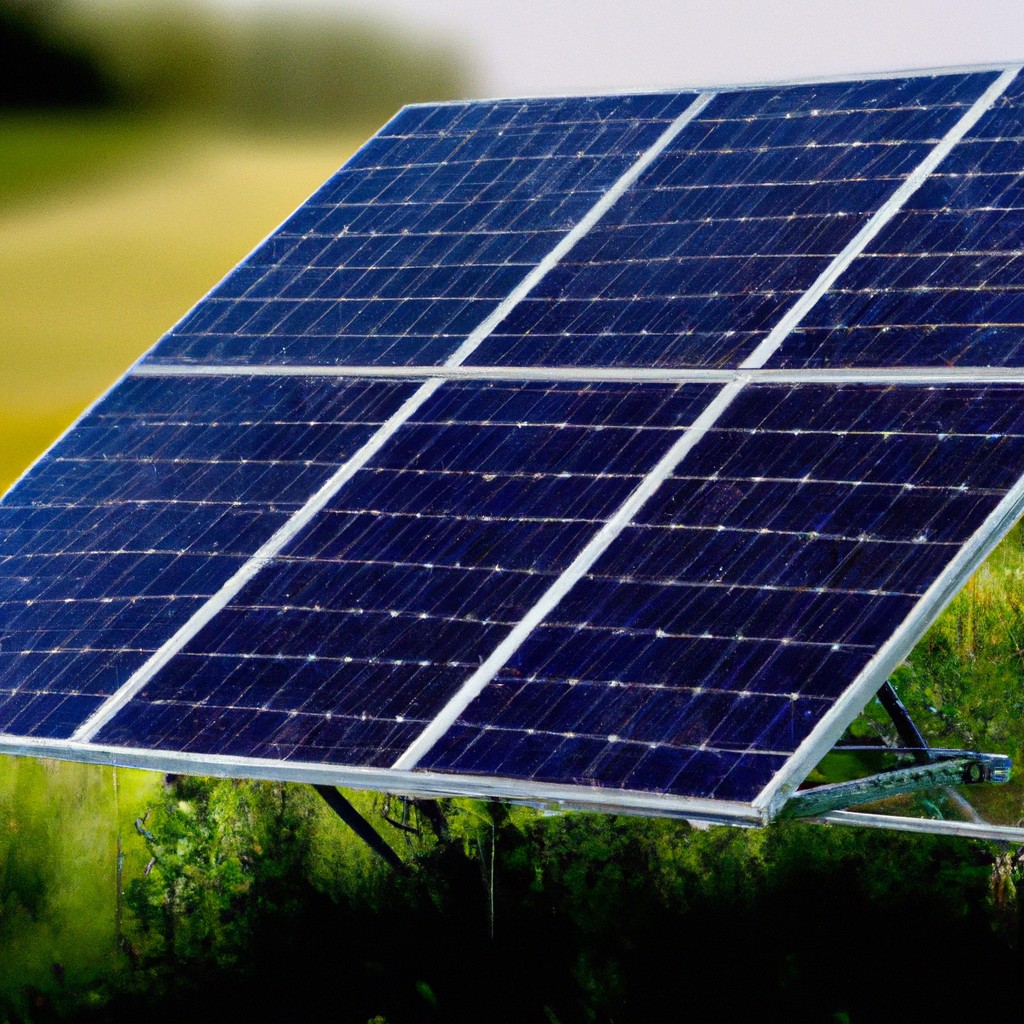
Solar panels rely on unobstructed access to sunlight to generate power. Dirt, debris, and bird droppings can significantly reduce their efficiency. Regular cleaning with a soft cloth and soapy water can remove the buildup without scratching the panel’s surface. Additionally, avoid using abrasive materials or harsh chemicals that could damage the protective coating of the solar cells. It’s also worthwhile to trim any overhanging branches that might cast a shadow or drop leaves on the panel, ensuring it receives maximum sunlight throughout the day. Proper maintenance guarantees that the panels operate at their optimal capacity, thus keeping your solar lights reliably illuminated when needed.
Make Sure the Solar Panel Is Positioned Correctly
Proper positioning of solar panels is crucial for optimal energy absorption. These panels should face true south in the Northern Hemisphere, and true north in the Southern Hemisphere. Consider the path of the sun across the sky and angle your panel accordingly, typically at an angle equal to your latitude. Obstructions such as trees or buildings can cast shadows, reducing the panel’s exposure to sunlight. Maximizing sun exposure throughout the day will ensure your solar lights receive enough power to operate effectively after dusk. Periodic adjustments to the panel’s position may be necessary as seasons change and the sun’s path shifts.
Check for Water Damage Inside the Solar Lamp
Exposure to the elements can affect the internal components of solar lights, leading to water damage. To assess this issue:
- **Inspect Seals and Gaskets**: Look at the light’s housing for any cracks or gaps. Manufacturers typically seal solar lights to prevent moisture intrusion, so compromised seals may indicate a risk of water damage.
- **Check for Condensation**: Open the solar light if possible and examine the interior for signs of moisture, such as fogging or droplets. This can short-circuit internal wiring and damage the light’s functionality.
- **Look for Corrosion**: Examine the battery and electrical contacts for any green or white residue. Corrosion can interrupt the flow of electricity and may require cleaning or part replacement to restore functionality.
If you detect water damage, allow the light to dry thoroughly in a warm, dry area before reassembling it. Depending on the severity of the damage, you might need to replace the light. It’s important to fix any sealing issues to prevent future water ingress.
Review the Manufacturer’s Instructions for Troubleshooting
Manufacturers often provide specific troubleshooting steps tailored to their products. These instructions are designed to address common issues that may inhibit the function of solar lights. It’s crucial to consult the manual for:
- Reset procedures that can help re-establish correct operation after a failure or power interruption.
- Recommendations for optimal placement to ensure adequate sun exposure.
- Seasonal maintenance tips to enhance longevity and performance.
- Warranty information, which may offer free repairs or replacements for manufacturing defects.
- Contact details for customer support, should the problem persist despite following the provided steps.
By following the manufacturer’s troubleshooting guide, you can often quickly resolve issues without the need for professional assistance.
Also Read:
- Why Are My Brand New Solar Lights Not Working: Troubleshooting Tips and Fixes
- How to Repair Solar Panel: Comprehensive Guide on Maintenance and Fixes
- The Top 29 Solar Panel Repair and Maintenance Companies in Arizona
- The Top 40 Solar Panel Repair and Maintenance Companies in California
- The Top 23 Solar Panel Repair and Maintenance Companies in Alaska