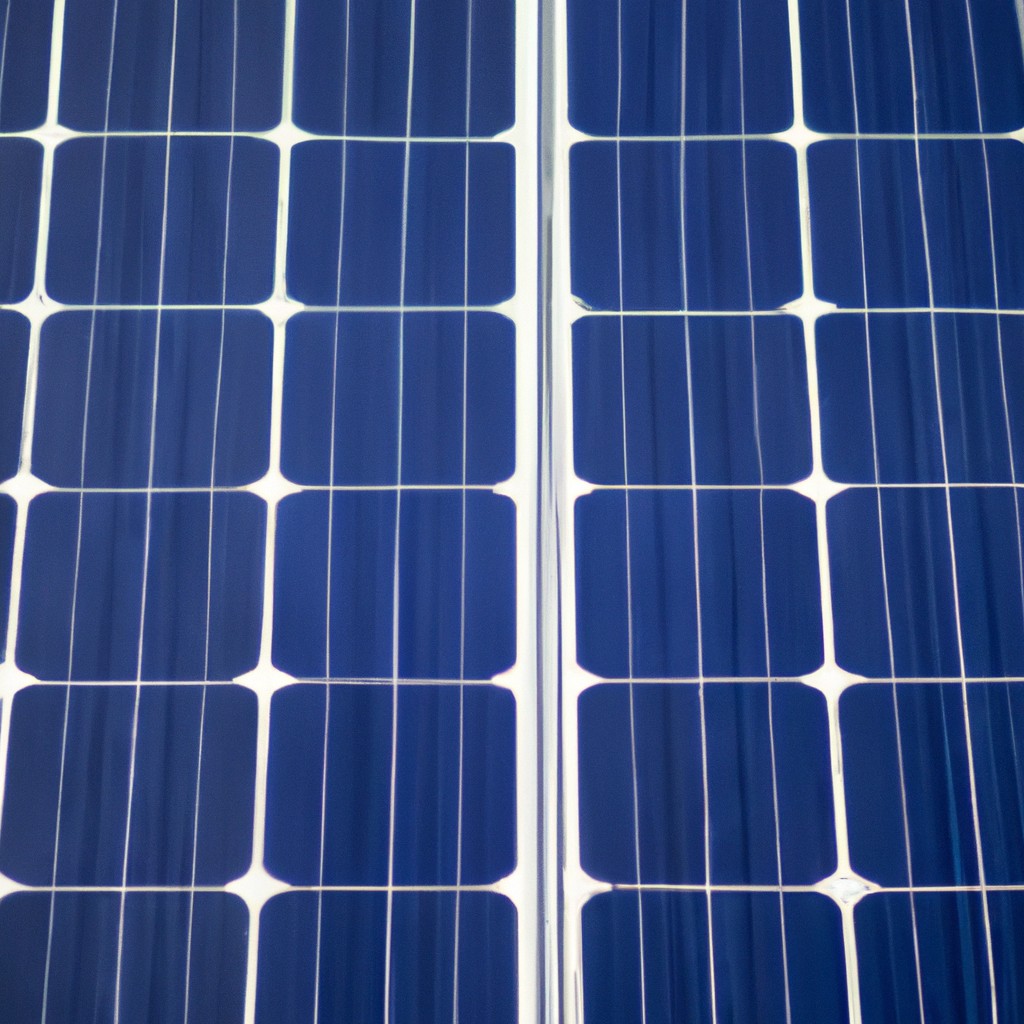
Learn how to set up your solar panel system effectively, from choosing the right location to connecting the electrical components.
Key takeaways:
- Calculate power load accurately to size your solar panel system.
- Choose the right solar panel type for your climate and space.
- Gather all necessary tools and components for a smooth installation.
- Mount solar panels securely and consider orientation and tilt angle.
- Connect solar panels to battery using a charge controller and proper grounding.
Calculate Your Power Load

To accurately determine the energy requirements of your home, start by listing every appliance and device that will consume solar power. Note their wattage and the number of hours they’ll operate daily.
Multiply the wattage by usage hours to find the daily watt-hour total for each item. Summing these totals gives you the daily energy consumption, a critical figure in sizing your solar panel system.
Remember that energy usage can vary by season, so account for fluctuations. Additionally, to ensure a buffer for cloudy days and increased future consumption, consider adding a 25-30% surplus to your final calculation. This proactive step can prevent potential energy shortages and enhance system reliability.
Choose Your Solar Panel Type
Monocrystalline panels are highly efficient and durable, ideal for areas with limited space.
Polycrystalline panels offer a balance between cost and efficiency, suitable for those with a moderate budget.
Thin-film solar cells are flexible and lightweight, but they generally require more space and are less efficient than mono- or polycrystalline panels.
When selecting, consider the climate; monocrystalline performs better in warm weather while polycrystalline panels function well in cooler temperatures.
Also, assess the installation space to ensure the chosen type will fit the physical constraints and capture sufficient sunlight.
Additionally, factor in the longevity of the panels; while most types have a lifespan of 25-30 years, specific conditions at your location might affect longevity.
It’s important to balance long-term performance and initial costs to optimize your return on investment.
Gather the Necessary Tools and Components
Before beginning the installation, ensure you have all the tools and components on hand to avoid any interruptions. You’ll need a variety of tools for a secure and efficient setup, including:
- A drill for mounting panels and racking systems.
- A wrench set for tightening bolts and nuts.
- A wire stripper for preparing wiring connections.
- A multimeter for measuring voltage and current.
- Screwdrivers for securing electrical components.
In terms of components, the essentials include:
- Solar panels, which convert sunlight into electricity.
- Mounting hardware to secure panels to your roof or ground structure.
- A charge controller to regulate the power going to and from the battery.
- Batteries to store the energy produced by your panels.
- An inverter to convert DC electricity from the panels into AC electricity for home use.
- Wiring and connectors to link all components in a safe and functional manner.
Be mindful of the specifications for all components to ensure compatibility and efficiency of your solar panel system.
Mount the Solar Panels
Ensure the mounting location is structurally sound to support the panels’ weight. Orientation is crucial; in the northern hemisphere, panels should face true south for optimal sun exposure. Tilt angle is equally important; an angle equal to the latitude of the installation site maximizes solar input. Secure the mounting hardware while maintaining enough space between the roof and panels for air circulation, which helps lower the panel temperature and maintains efficiency. Lastly, confirm local permit requirements and building codes to ensure compliance with regulations.
Connect the Solar Panels to the Battery
To establish a successful connection between the solar panels and the battery, a charge controller is indispensable to regulate the voltage and current the battery receives. Without this device, the likelihood of overcharging and subsequent damage to the battery increases.
First, attach the positive and negative wires from the solar panel to the corresponding terminals on the charge controller. Make sure the connections are tight and secure to prevent any power loss.
Next, similarly connect the charge controller to the battery, ensuring proper polarity. Use appropriately sized wires to handle the expected current flow; this is typically outlined in the charge controller manual.
Finally, it’s essential to ground the system correctly. Connect a grounding wire from the solar panel frame to a grounding rod buried in the earth to protect against electrical surges and lightning strikes. Regular maintenance checks to ensure all connections remain tight and corrosion-free are crucial for system longevity and safety.


