Learn how to connect solar panels to your house with straightforward steps in this handy guide.
Key takeaways:
- Assess home energy requirements
- Obtain necessary permits and choose suitable solar panel type
- Install solar panel mounting hardware and panels
- Connect solar panels to inverter and home electrical panel
- Implement system monitoring and maintenance guidelines
Assess Home Energy Requirements
Understanding your home’s energy needs is crucial before installing solar panels—it’s like knowing how much fuel your car needs before planning a cross-country trip. Start by reviewing your electricity bills from the past year to get an average of how much power you use monthly. Keep in mind, energy consumption can vary with the seasons, so consider the bigger picture rather than one-time spikes.
Next, evaluate which appliances consume the most energy. Typically, heating and cooling systems are the main culprits but don’t overlook the refrigerator, washer, or dryer. Knowing this helps in deciding the size and number of panels needed to effectively reduce your electricity bills.
Finally, consider future changes. Planning to switch to electric cars? Perhaps a hot tub in your dreams? Adjust your calculations for upcoming energy needs, so your system can handle it all with aplomb. By getting a clear picture of your current and anticipated energy use, you’ll ensure your solar setup is both adequate and efficient. So, roll up your sleeves, and let’s crunch some numbers!
Obtain Necessary Permits and Choose Suitable Solar Panel Type
Before you mount a single panel, remember that local laws are a bit like your nosy neighbor; they want to know everything about your setup. It’s vital to check with your municipal or county building department regarding required permits and building codes. Each area has its own quirks, so securing these permits ensures your project is up to spec and sidesteps any legal hiccups.
Choosing the right type of solar panel usually boils down to monocrystalline or polycrystalline options. Monocrystalline panels are more efficient and sleeker, but they’re something like the high-maintenance friend – more expensive upfront. Polycrystalline panels, however, offer a friendlier price tag with a slightly lower efficiency. Consider your roof space and budget to decide which friend you’re inviting to your rooftop party.
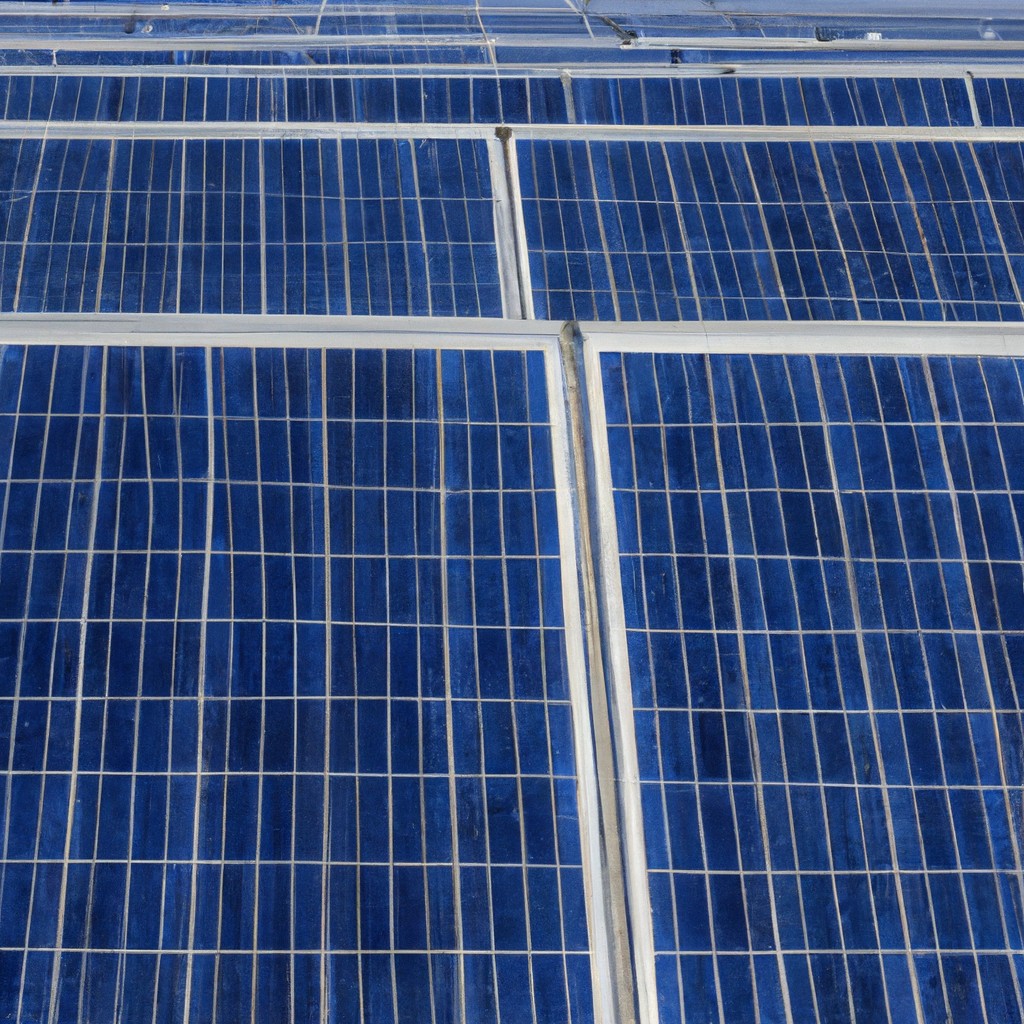
Install Solar Panel Mounting Hardware and Panels
Ensuring a strong and stable base for your solar panels begins with the strategic setup of mounting hardware. This is crucial for maximizing sunlight exposure and prolonging the system’s life. First, identify the ideal configuration—whether it’s roof-mounted for direct sun alignment or ground-mounted to avoid obstructions.
Next, secure mounting brackets to the roof or ground area, checking that they are sturdy and properly aligned. This is not a step to rush; precision counts! Once the brackets are in place, you can proceed to lay down the panels. Align them on the mounting structure carefully, bolt them securely, and congratulate yourself on a job that would make any DIY show host proud.
Panel orientation is vital for optimal performance, so angle them correctly based on your geographical location and the sun’s path. Yes, a bit of solar choreography is needed here! This setup ensures that your panels absorb maximum sunlight and convert it efficiently, making it a powerful contributor to your energy arsenal.
Connect Solar Panels to Inverter and Home Electrical Panel
After securing your solar panels on the roof, the next step is to bring their power down to earth—or more precisely, into your home. This is where the magic happens, as you connect the dots between the panels and your electrical system.
First, the wires from your solar panels will feed into an inverter. Think of this device as the translator that turns the solar energy (DC power) into a language that your home’s appliances can understand (AC power).
Then, this AC power travels from the inverter to your main electrical panel, often referred to as the breaker box. Here, it’s distributed to the various circuits in your house. It’s crucial to ensure that this connection is done securely and in accordance with local electrical codes to avoid any electrical mishaps.
Most systems also include a generation meter at this stage, which will track the amount of electricity produced. Monitoring this output is not only good for a pat on the back but also essential for understanding your energy savings and system efficiency.
Enlisting a certified electrician for this phase is highly recommended. Not only do they bring expertise to the table, but also, let’s face it, dealing with electricity is no Sunday picnic!
Implement System Monitoring and Maintenance Guidelines
Monitoring your solar power system is like being the captain of a very sunny ship. You’ll want to make sure everything is shipshape! Some solar inverters come with handy monitoring software that allows you to observe the amount of electricity your panels are producing right from your smartphone or computer. This not only lets you show off to your friends about how eco-savvy you are, but also informs you of any dips in performance that may signal maintenance needs.
As for maintenance, think of it this way: more sunshine, less grime. Keep your solar panels clean and unobstructed to ensure they’re soaking up as much sun as they can. Regular cleaning can be as simple as using a garden hose to wash off any dust or debris. Also, check for any physical damages or wear every few months. It’s like giving your solar system a quick health check-up—minus the co-pay.
Lastly, be proactive! Don’t wait for your system to underperform. Schedule annual inspections with a professional to catch any issues early on. This will help ensure your system continues to function efficiently, paving the way for a bright and productive solar future.
Also Read:
- How to Install Solar Panels: Step-by-Step Installation Guide
- Solar Panel Setup: Step-by-Step Guide for Efficient Energy Installation
- How to Hook Up Solar Panels: Step-by-Step Installation Guide
- Installing Solar Panels on RV: Step-by-Step Guide for Beginners
- Installing Solar Panels on Roof: A Step-by-Step Guide for Homeowners